
基尼在第一話與大家分享了ME & WE可卸式光感指彩凝膠及油/水性指彩比較,接著要來分享平常基尼如何在做光療
指甲前的保養及以一個連手殘人都可以做的好的漸層指甲彩繪~
Right after I share the comparison of soak off gel polish and other type of nail polishes(episode 1),
I am going to share how to work with soak off gel polish and how to clean your nails beforehand~

在進行光療之前,指甲邊緣的死皮一定要去除乾淨,如此一來非旦甲面變大了,做好的指甲也比較不會因為有空氣或水跑進去而容易壞掉。
To clean our nails and our cuticle area is the very first step. By doing this, you will have bigger nail surface to work with
and keep the nail polish longer.
我們需要的工具有:The applications we need are:
手枕 (可省略) Hand pillow (optional)
泡手盆 Manicure bowl
指緣剪 Cuticle nipper
推棒 Cuticle pusher
磨甲棒 Nail files
指緣油 Cuticle oil
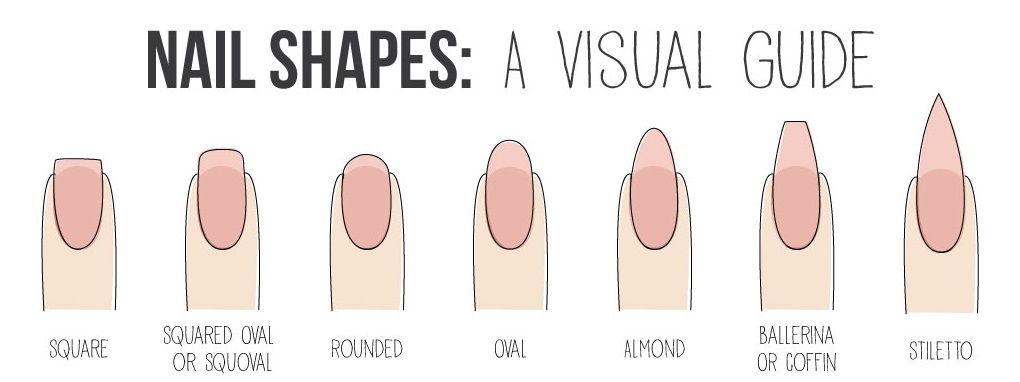
首先,先確定自己喜歡的甲形,上圖為一般較為常見的甲形,而基尼最喜歡的是圖二(Squared Oval)。
First thing first, you will have to find out your favorite nail shape, I personally I squared oval the best.

在將指甲修剪到自己喜歡的長度後,使用磨甲棒將指甲磨成適合自己的形狀,在磨甲的過程中千萬不要z字型來回的磨,要同一方向
才不會傷害到指甲哦!
Now trim your nail to the length you like, then file your nails. It is important to know that there’re lots of layers
of your nails, so never seesaw your nails back and forwards. Just file them with one direction to avoid any damages
are caused.

修整好甲形後準備開始去除死皮嘍!去除死皮前記得先將指頭泡在溫水裡軟化角質。
It is time to clean the cuticle areas! Add a bit of warm water into the hand bowl and soak your fingers.

指頭浸泡十分鐘左右後,就輪到推棒出場嘍!慢慢地從指尖輕輕地往下推,會發現指甲邊緣有許多白色的屑屑,那就是平常躲在角落
的死皮嘍!
After about 10 mins or so, gently push the surface of your nail with the cuticle pusher. You will find there are some white
thingy come out and which is the cuticle you don’t need.

接著使用指緣剪將推出來的死皮修剪乾淨。
Next, trim the cuticle with your cuticle nipper.
修剪完成後如果沒有要馬上做光療,那就在指緣擦上指緣油好好的滋潤一下妳的玉手吧!
You could apply your cuticle oil at this stage if you are not going to apply any nail polishes.

光療時間到嘍! 先準備好光感指彩凝膠以及LED 光感指彩機。
It’s time for applying our soak off gel polish~ Get ready your polishes and the LED lamps.
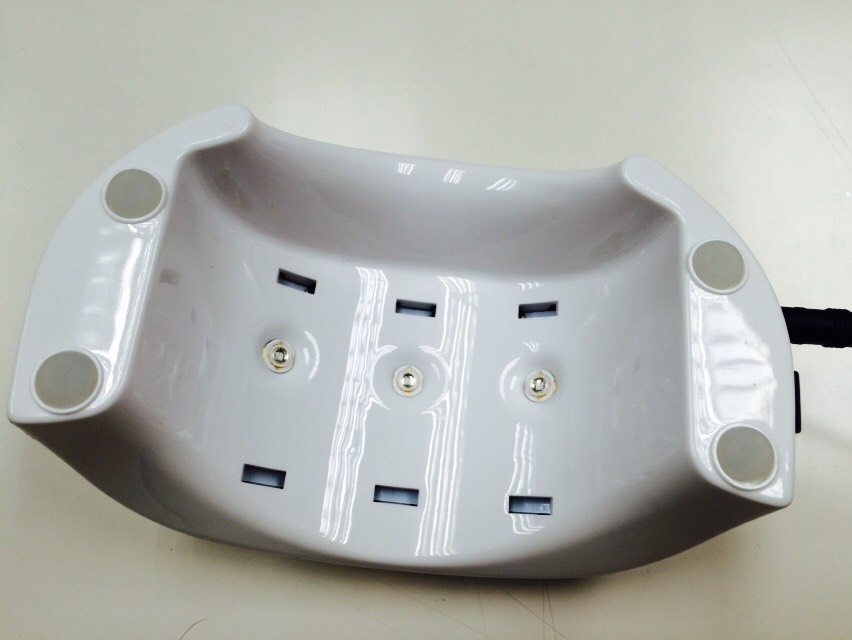
光感指彩凝膠與一般指甲油最大的不同就在於,凝膠一定得照到LED光才會乾!而這也就是為什麼它這麼適合拿來
指甲彩繪的主因。這裡貼心小提醒,第一次做光療的美女們,照光時會有點熱熱的! 如果天氣熱本身體溫又高的話,
甚至會有點燙手哦!
The biggest difference between traditional nail polishes and soak off gel polishes is, the gel will never
dry out unless they are cured. And this is also why soak off gel polishes are well applied for nail art!
A reminder here, the gel tends to burn a bit when you cure it, don't be frightened.

使用的凝膠有:
The nail polishes we need:
BASE 02 底層凝膠 BASE GEL
BL661 不盡的布魯斯 BLUE
BL7451S 低地的風信子 LIGHT BLUE
TP02G 獻給天使 GLITTER GEL
TOP02 頂層光澤保護凝膠 TOP GEL

搭配的工具及材料有:
The applications are:
酒精綿片 Alcohol prep pad
星星亮片 Glitters (star shaped)
圖形亮片 Glitters ( round shaped)
銀色小珠珠 (silver beads- round shaped)
銀色方形鉚釘 (silver beads- square shaped)
夾子 tweezers
化妝用的海綿 make-up puff

TIP來了~ 在上底層凝膠前,使用酒精綿片將甲面徹底清潔,可以讓指彩維持比較久哦!不害怕傷害甲面的女孩兒們,
也可以在清潔前用磨棒將甲面稍微磨一下,如此一來指彩會更持久哦!
Here comes the tip~ To clean with your nails with alcohol prep pad before applying base gel will keep the polish longer.
And if you don’t care to damage your nail a bit, you could also file the surface of your nail gently before clean them.
By doing so, you will keep the polish even longer.

好der~ 拿出乾淨的化妝用的海綿 ,當然也可以使用舊的,只是基尼認為上面沾滿粉底液總會污染了指甲油的刷頭,受污染的刷頭
再放入指甲油罐裡-> 基尼很難接受XD) 。
Alright! Make-up puff is coming to paly now~ You may use the old ones if you want.
I personally don’t like my brush contaminated by the old puff.


將欲使用的指彩:BL661 不盡的布魯斯以及 BL7451S 低地的風信子塗在化妝海綿的兩側。
其實許多教學都是將指彩分別塗在海綿的上方與下方連接在一起,但基尼總覺得使用起來不
方便,發現塗在海綿的兩側再慢慢沾在指甲上比較容易調整自己喜歡的比例。
Brush the puff with the polish, I chose BL661 (blue) and BL7451S (lighter blue). I find it is easier to work with
when I separate the colors rather than brush two colors right next to each other.
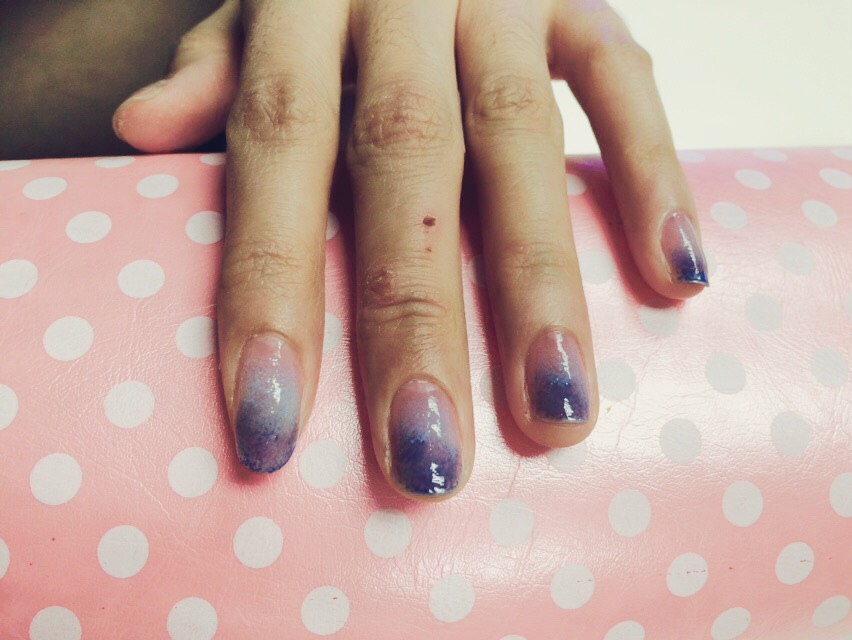
將指彩輕拍甲面,記得越靠近指尖顏色越深。滿意了以後將手放入LED 光感指彩機,等待六十秒!這就是上完第一層的模樣!
Tap your nail with the puff gently. The color of your tip should be the darkest. Keep tapping until you
are happy with the colors. Cure your nails for 60 seconds. This is how your nails should be like now.

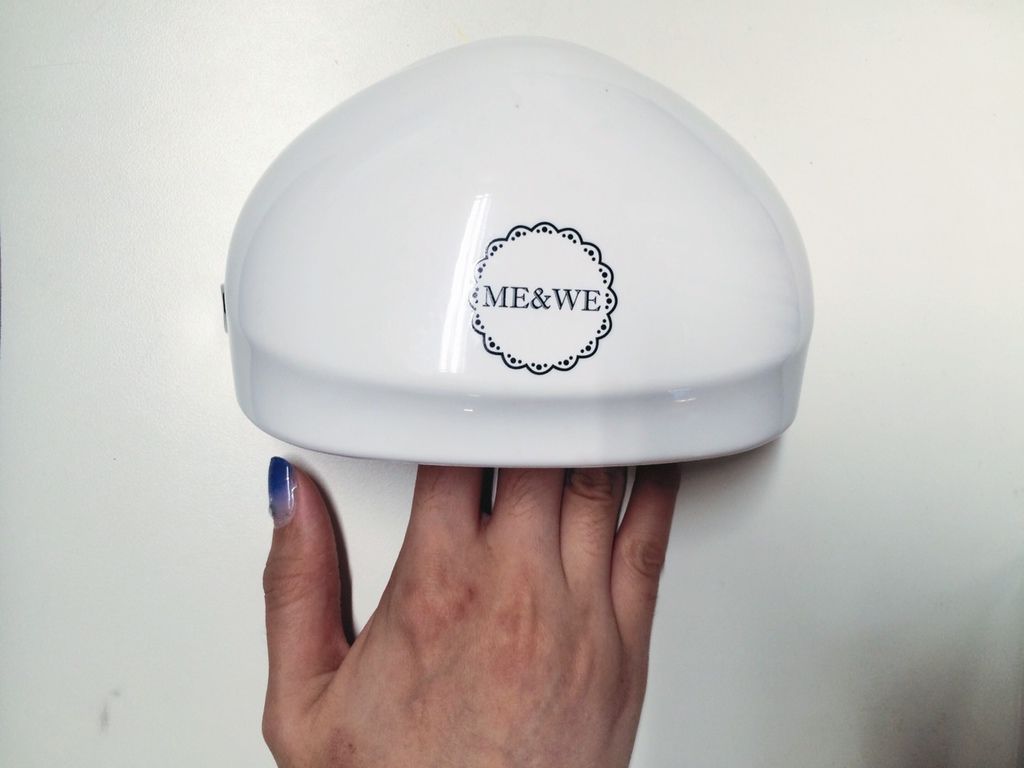
插撥一下,因為大姆哥哥天生矮小,如果和其它指頭一起進烤箱會照不到他唷! 所以記得分開
進烤箱- 兩位大姆哥哥一隊、其它左右手再各分一隊哦!
A reminder- the lengths of your thumbs are different from other fingers. Cure them separately is a must.

重覆上一個動作,這是上完第二層的樣子!
Tapping your nails again – second layer.
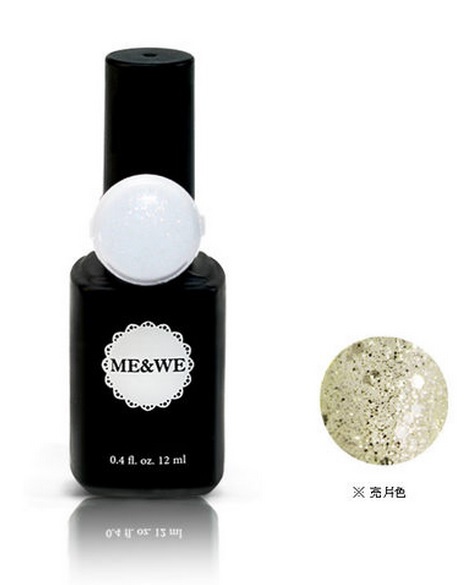
接著擦上TP02G 獻給天使,這款是屬於大亮片的指彩,有許多地方可以再補上自己喜歡的亮片,基尼這次選擇了帶點
藍綠色的亮片。此外,為了讓每隻手指有變化,基尼使用了星星亮片和藍色與銀白色的小花分別點綴在不同的甲面上。
滿意了以後再將手放入烤箱~
Now, I am using TP02G, it is a glitter polish. Since the glitter is not enough in my opinion, I
added more glitters that I like- greenish blue. On top of that, I also added some blue/sliver flowers
and star shaped glitters to make every single nail unique.

最後可別忘記擦上1~2層的頂層光澤保護凝膠將美美的指甲保護好哦!! 記得在指緣上也輕輕的刷一下,可以讓指尖的指彩
較不易脫落哦!
Last be not least, don’t forget to top coat your nails (1~2 layers)! And the fringe of the nail is equally important.
This is also a tip keep your polish much longer. 
將將~ 完成嘍!! 最後記得擦上指緣油保養一下哦~
誰說在家做指甲只能做單色呢?! 只要有對的工具和瞭解使用技巧,自己也可以
做出美美的指甲彩繪哦!
Done!~ Remember to nourish your nails with cuticle oil.
Nail art DIY is as simple as that! By using the right applications and knowing the techniques,
you will be good to go~
喜歡指甲彩繪的女孩兒們,跟著基尼一起動手做做看吧! 基尼將不定期的發表一些指甲彩繪的小技巧,歡迎大家點下方
圖片連結到基尼的粉專,再給基尼一個大姆指!這樣一來妳就不會錯過任何一篇基尼發佈的文章嘍!!
Why don't you give it a try! I will post more and more articles about nail art irregularly, and you are
always welcome to click the picture below and give a thumb up if you like to see more of my
works.
▍基尼愛胡鬧 since 2015 ▍ ★按圖片直達粉絲團★
My facebook page Since 2015 click the picture


 留言列表
留言列表


